Categories
Breakfast | 8am Meal

Rice Kheer With Jaggery | Gur Wali Kheer

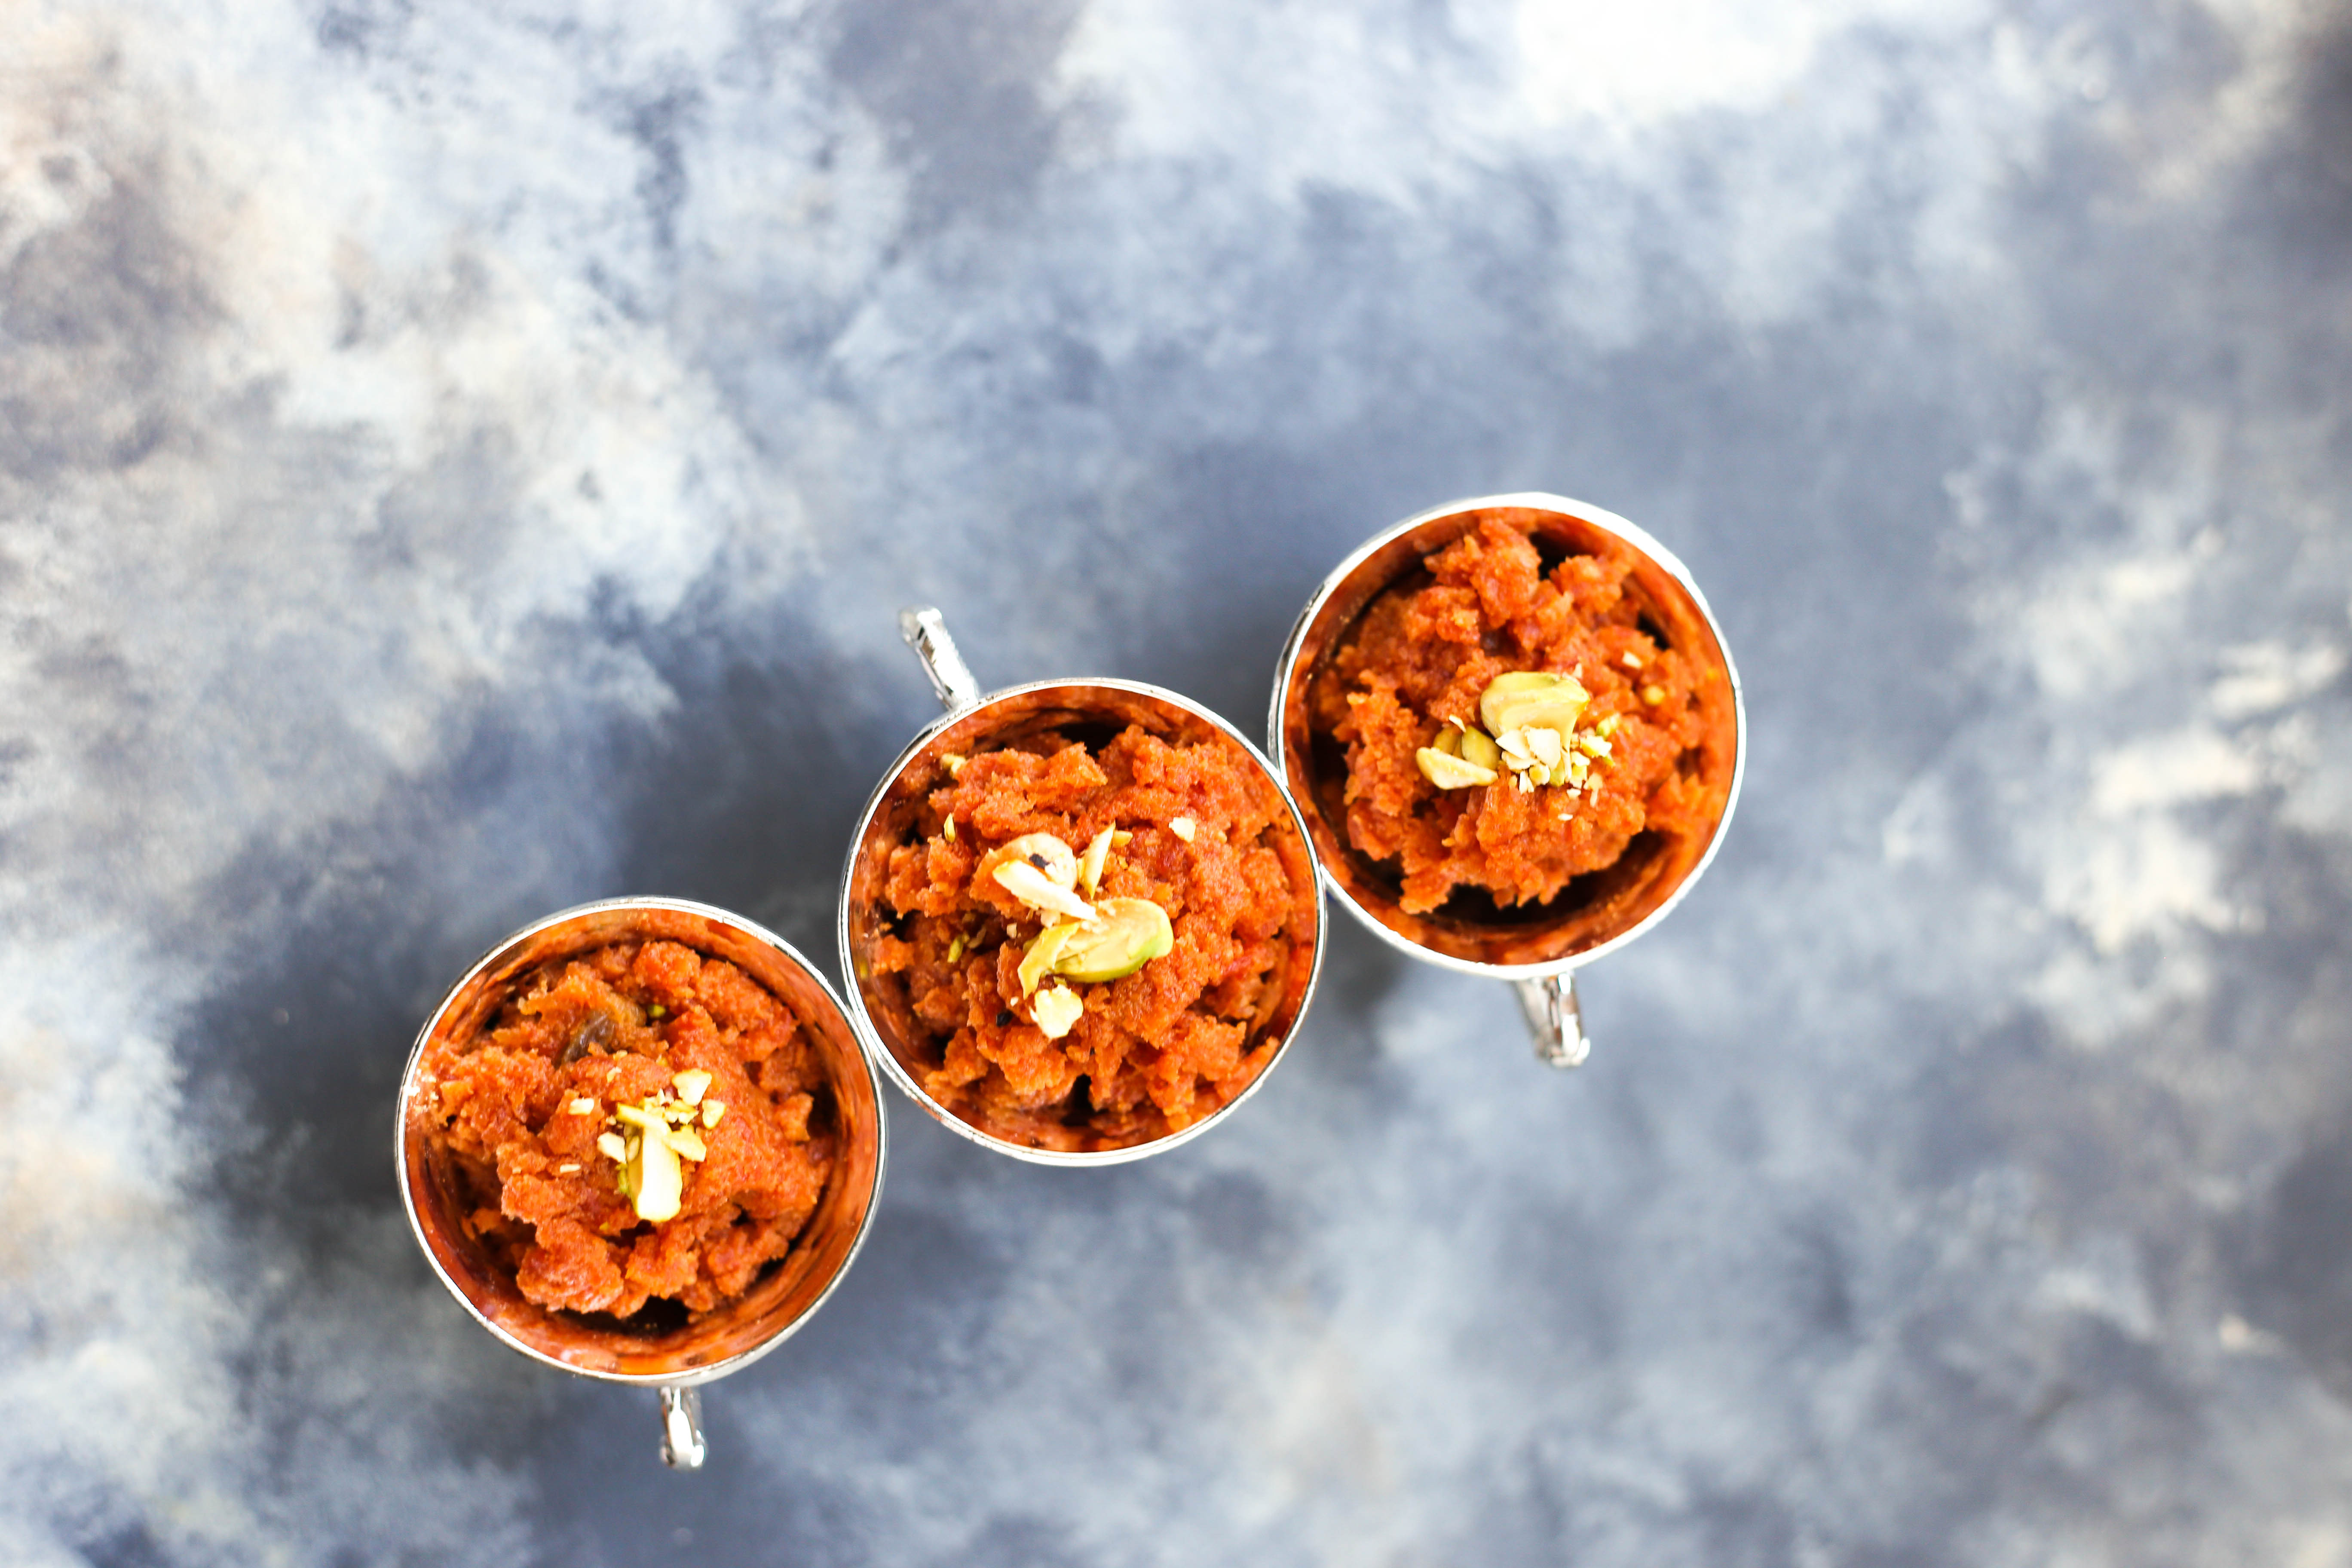
Gur Wali Kheer! The word brings back so many memories. This simple yet mountwatering rice kheer with jaggery wan an essential part of any special day, auspicious function or a celebration.

Ma would make this with whatever rice was available but Gobindbhog was one variety which heightened the taste of this dessert to another level. It was also one of the first desserts which I learned to make, simply because it was so easy to put together. I remember the house-help being sent off to buy buffalo milk from the local dairy (we would usually consume cow’s milk for other purposes) whenever kheer was on the menu. The thick variety of milk was imperative to making a good kheer. The thick milk was boiled and simmered for a good 15-20 minutes with constant stirring to further thicken it before adding raw rice and slow cooking the mixture for another 20 minutes or so. While on regular days it would be sweetened with sugar, come winters, and especially during Chatth Puja, gur (jaggery) was used. In my humble opinion, the latter variety made the kheer taste so much better.

Helpful Tips For Your Prep!

Fast forward 20 odd years and the art of making a good kheer is still not lost on me. On a leisurely day, I do not mind spending time in the kitchen and make kheer just like Ma would. However, there are days when one is yearning for this sweet delight but doesn’t have the luxury of time to put it together. It is also hard to find the small-grained fragrant Gobindbhog rice in Hong Kong. So one has to make do with either Basamati or other rice. These I thought were my only options until I discovered how amazing leftover sushi rice was for kheer. No kidding!

It works wonders for two reasons:

  1. One, the starch content is higher than regular rice and it adds to the creaminess of kheer and
  2. Two, leftover rice hardens up just enough when refrigerated overnight. Therefore it is almost like adding raw rice to milk. However, because it is not really raw (and quite starchy), it cooks quickly with milk resulting in that perfect kheer. All this, in 20 minutes flat!

My second helpful tip is about the proportion of rice to milk. In this, I added 1 cup of precooked sushi rice to approx 500 ml UHT milk. It is always safe to reserve some rice and milk on the side. On one hand, if the kheer gets too runny, add rice and let the mixture cook for another 5-7 minutes. On the other, if the kheer gets too thick add milk and cook for the same time.

Lastly, I advise using UHT milk compared to regular milk because it is thicker. It also gets a lot creamier with little boiling, saving you some time. If you are not in a rush, however, you could very well use any kind of regular milk that you have at hand.


How to Make the Tastiest Rice Kheer With Jaggery

As mentioned before, due to its fragrance, kheer tastes the best when made with Gobindbhog. However, since I couldn’t find any here and still wanted a fragrant kheer I added some crushed green cardamom, bay leaf, and saffron while boiling the milk.

Now, this is a really really important thing to keep in mind. If adding jaggery, DO NOT add it when the heat is on, because that will lead to curdling of the milk, ruining your kheer. Once the rice is cooked and you see that the milk and rice have come together well, you can turn off the heat and then add crushed jaggery. That’s it! Your rice kheer with jaggery is ready in 20 minutes, as I promised.

You can then either enjoy your kheer right away or refrigerate and eat it chilled. And because you enjoying this Indian dessert when you make it extremely important to me, here is another recommendation. Try dunking hot ghee smeared chapati into your kheer. This is no joke. Try it next time, and let me know what you thought.


Rice Kheer With Jaggery by OneWholesomeMeal

Gur Waali Kheer (Rice Pudding sweetened with Jaggery)

Prep Time: 10 minutes

Cook Time: 15 minutes

Total Time: 25 minutes

Yield: 100

Serving Size: 4-6

Calories per serving: 134

Ingredients

  • Precooked and refrigerated Sushi rice- 1 cup
  • UHT Milk-500ml
  • Jaggery, chopped fine-1/2 cup or as per sweetness desired (if using sugar, you could use lesser quantity). I used Nolen Gur but any variety is fine.
  • Green cardamom-3 pods
  • Bayleaf-1
  • Saffron-1 pinch
  • Nuts/Dried fruit of choice for garnish

Instructions

  1. Take milk in a deep thick bottomed pan and bring to boil
  2. Let it simmer for 2-3 minutes on a medium-low flame with constant stirring
  3. Then add precooked rice and mix
  4. Reduce the flame to low and cook with intermittent stirring till you see the milk and rice come together nice and well, the rice grains are almost translucent and the kheer starts to look creamy. This should take about 7-10minutes
  5. Turn off the heat and let the it sit for 2 minutes, then add finely chopped or crushed jaggery.Chopping or crushing jaggery helps quick and even mixing
https://onewholesomemeal.com/rice-kheer-with-jaggery-gur-wali-kheer/

[kkstarratings]

Categories
Afternoon Snack | 3pm Meal Mid-Day Snack | 10 am Meal

Healthy Energy Balls With Apricot and Pistachio

Healthy energy balls are the best, aren’t they? Not only are they raw and full of health goodness but extremely easy to put together too. And their petite size makes them perfect for lunch boxes too.

We love to eat all kinds of fruits and dry fruits. Come winters, the dry fruits start to make a more regular appearance in our daily menus. And energy balls are the best way to combine more than one kind of dry fruit in a single serving. The inspiration for these healthy energy balls came from the 5-year-old who loves apricots and pistachios. Dried apricots have a somewhat sour taste which is complimented superbly by the nutty smoothness of pistachios. And since freshly desiccated coconut is always a great option in desserts and I happened to have some on hand, I added that too. You could also use packaged dried desiccated coconut.

I originally thought of flavouring the laddoos with rose, since pistachios and rose go so well together. But the citrusy flavours of apricots and freshness of orange zest seemed like a better idea. This is just a personal preference and you can go with your desired flavours – rose, lemon rind, coconut, or just plain vanilla would all work perfectly well. Add a tablespoon or two of honey or maple syrup for extra sweetness. I skipped this as the apricots were quite sweet. Store in a cool place in an airtight container and consume within a week.

For my other energy balls’ recipes do have a look at click here. Let me know in the comments which one is your favorite.

Healthy Energy Balls with Apricots and Pistachios by OneWholesomeMeal Blog

My Maiden YouTube Video Tutorial

This recipe is also super special as it is my maiden attempt to create a quick video tutorial. Nothing to be super proud of but you know how special maiden attempts are! I am so glad I finally overcame my inhibitions and created this video. Making it single-handedly with no assistance and just one camera and changing lenses intermittently to capture different angles took my patience to another level. It made me respect bloggers who churn out absolutely professional tutorials on a regular basis like a pro. Loads of lessons learned and all well worth the effort.


Apricot-Pistachio Energy Bites

Prep Time: 5 minutes

Cook Time: 15 minutes

Total Time: 20 minutes

Yield: 100

Serving Size: Makes approximately 10-12 medium sized laddoos

Calories per serving: 75 per medium sized laddoo

Ingredients

  • Apricots, softened-2 cups (Soften the apricots by soaking in warm water for 30 mts and then draining them on a kitchen towel so as to absorb all the moisture)
  • Unsalted pistachios-3/4 cup
  • Shredded Coconut- 1 cup
  • Orange Zest (or lemon zest)-1 tbsp
  • Pure Vanilla extract-1/2 tsp
  • Honey or Maple Syrup-1 tbsp or as per taste (optional)

Instructions

  1. In a high speed blender (I used my nutribullet blend all ingredients till smooth. It is okay if the pistachios do not get completely powdered as it only adds texture and crunch to the balls
  2. Transfer to a plate and form into desired sized balls by rolling between your palms
  3. Store in an air tight container in a cool place and consume within a week
  4. If using dried shredded coconut , they will last slightly longer
https://onewholesomemeal.com/apricot-pistachio-healthy-energy-balls/

[kkstarratings]

Categories
Afternoon Snack | 3pm Meal Breakfast | 8am Meal Mid-Day Snack | 10 am Meal

Banana Coconut Smoothie

Who doesn’t like starting their day with a refreshing glass of smoothie?

This Banana Coconut Smoothie is super simple to put together. Power-packed with healthy micro and macronutrients and with a hint of mint, it could almost be your summertime panacea. Works perfectly for those afternoon hunger pangs too.

While I know there are smoothies that use coconut water for the coconut flavor, in my recipe, I went with freshly shredded coconut. It is high on the fat content, so please keep it to just 2-3 tablespoons. It adds a whole lot of natural flavor to the smoothie. Here are all the ingredients that you will need:

  1.  2 Bananas which are preferably very ripe
  2. A little less than one cup of milk. Plus some extra to adjust the thickness later. You may use almond milk, soy milk, or cow’s milk.
  3. About 2 tablespoons of freshly shredded coconut. You can add a bit more if you really like coconut flavor.
  4. 4 to 5 crushed mint leaves. This is optional.
  5. 1/2 teaspoon of cardamom powder
  6. For sweetness, you may rely on the bananas or add 1/2 teaspoon of sugar or jaggery.

For another banana smoothie variation, go here. Scroll down for the detailed recipe of the banana coconut version.


Homemade Banana Coconut Smoothie

Banana Coconut Smoothie

Prep Time: 5 minutes

Cook Time: 5 minutes

Total Time: 10 minutes

Serving Size: 2

Calories per serving: 120

Ingredients

  • Bananas-2 preferably well ripe
  • Milk (Almond/Soy/Cow's)- A little less than one cup plus some extra to adjust thickness later
  • Freshly shredded coconut - 2 tablespoons or a bit more of you really like coconut flavor
  • Mint leaves crushed - 4-5 (optional)
  • Cardamom powder- 1/2 teaspoon
  • Sugar (optional) or jaggery -1/2 teaspoon or to taste

Instructions

  1. In a high speed blender blend all ingredients till smooth , adjust thickness if desired by adding some more milk and blend again for a few seconds
  2. Top with fresh mint leaves, ice and serve chilled
https://onewholesomemeal.com/banana-coconut-smoothie/


[kkstarratings]

Categories
Breakfast | 8am Meal

Gajar Halwa Using a Pressure Cooker

Winters and its bounties are many. If I had to pick one I think there would be a tie between fresh fenugreek leaves and red Delhi carrots! This very Delhi carrot or laal gajar is the secret behind the best gajar halwa recipes.

Until very recently, I was unaware that the red variety of carrots were called by this special name. Shout out to my co-bloggers from Instagram for enlightening me. Come winter and these red carrots, I cannot wait to make the family favorite gajar ka halwa. To elaborate, it is a creamy fudgy dessert made with full-fat milk, carrots, and a hint of sugar. The carrots impart the sweetness in this dessert. Interestingly, although eaten widely in the Indian sub-continent, this dessert has its roots in the Arabic world. In fact, the word “halwa” means sweet in Arabic.

It is beautiful how Indian cooking has been modified by every external influence. Today it is a combination of the best the world has to offer. So, I feel, there is none like Indian cuisine for its sheer variety, complexity, delicacy, and most importantly nutrition. As Indians we need to take pride in its numerous health benefits perfectly, balanced by its flavors.


Gaajar Halwa

You can eat this halwa hot or cold – it tastes great either way. If you are looking for accompaniments, then try hot halwa with a dollop of chilled vanilla ice cream – a popular combination back home. Passed by my grandmother to my mother and now to me, this recipe has been in our family for generations. I try my best to do justice to this heirloom recipe. Let me know what you think.

Gaajar(carrot) Halwa

Ingredients

  • Red carrots (grated coarse)- 4 cups (if red not available you could also use the orange variety)
  • Full fat milk- 2 cups
  • Sugar- ½ cup or as per taste depending on how sweet the carrots are
  • Ghee (clarified butter)- 4 tablespoons
  • Dry fruits (cashew, almonds, pistachios, sultanas/raisins), chopped coarse- 1 tablespoon each
  • Cardamom powder- ½ teaspoon
  • Saffron (optional)-A few strands
  • Whipping cream/condensed milk-4 tablespoons (optional; adjust the sugar accordingly if using condensed milk)

Instructions

  1. In a pressure cooker add two-tablespoon ghee on high heat. Reduce the flame to medium once ghee is hot and add grated carrots
  2. Stirring continuously cook the carrots in ghee for about 5-7 minutes till they start to release a sweet fragrance
  3. Add 2 cups milk, mix well and seal the pressure cooker and let it cook on high flame for around 5 minutes or two whistles. Turn off the heat after 5 minutes and let all the steam release before taking off the lid
  4. Here on reduce the flame to medium-low and let the carrot-milk mixture slow cook. At this point add the remaining two tablespoons of ghee, saffron and cardamom powder
  5. If you like a rich halwa, add some condensed milk or cream, mix well and continue to slow cook. You could also keep adding a few tablespoons of milk and let it reduce to khoya as it cooks with the carrots. Traditionally the halwa is cooked slowly for hours altogether with gradual addition of ghee and milk or khoya (reduced milk) to give it an extremely rich and creamy texture. So, basically when you feel the halwa is almost done and has reached fudge like consistency you could add some more ghee and milk and continue to slow cook until desired creaminess is achieved. I usually slow cook for almost 1.5 hours on low flame without any additional condensed milk or cream and then just before turning off the heat I add sugar, increase the flame to high and stir continuously for about 5-7 minutes till a fudge like texture is achieved
  6. Turn off the heat and serve hot garnished with dried fruits

Notes

Calories (per serving)- 180 Nutrition- Antioxidants/Beta-carotene/Fiber/Vitamin K/Potassium/Protein It does wonders for your-Diabetes/Cholesterol/Heart diseases/ Gut/ Skin/ Immunity/ Eyesight/ Bone health This is “My 8 am Meal”

https://onewholesomemeal.com/gajar-halwa-pressure-cooker/

[kkstarratings]

Categories
Breakfast | 8am Meal Mid-Day Snack | 10 am Meal

Chocolate Truffles Flavored With Kahlua

While I know Christmas season means a lot of baking, this time I tried to make a no-bake dessert. Chocolate truffles flavored With Kahlua anyone?

Let there be no doubt – I love baking. It is always a mood lifter for me. It is the after-effect of consuming all the baked goodies that makes me think twice. Now, if only baking was not directly visible on the waistline as much, I would honestly do it more often. But then again, it is Christmas time. Time to share love, cheer, and also some calories in the form of these melt in your mouth little delights.

My absolute go-to website for baking is Joy of Baking. That is where I discovered this no-bake chocolate truffles recipe. Below is almost the exact Kahlua flavored chocolate truffles recipe barring the coatings which I played around a bit with. I used powdered pistachios, desiccated coconut to raw cacao. I tried them all. And the results as per the guinea pigs who tasted them (in their words) was DIVINE! Scroll down for the full recipe.

If you are looking for more no-bake dessert options, why not try my dark chocolate and strawberry bites? And for a more Indian dessert, here is the white chocolate mawa barfi. Let me know which one you liked more.

Kahlua Flavoured Chocolate Truffles

Kahlua Flavoured Chocolate Truffles

Kahlua Flavoured Chocolate Truffles

Ingredients

  • Chocolate Truffles:
  • Semisweet or bittersweet chocolate, cut into small pieces- 227 gms
  • Heavy whipping cream (double cream) (35-40% butterfat) – 120 ml
  • Unsalted butter, cut into small pieces- 28 grams
  • Kahlua- 2 tablespoons
  • Different Coatings for Truffles:
  • Toasted nuts like almonds/pistachios and then powdered. You could just crush and coat if you would like some texture
  • Raw cacao or cocoa powder
  • Desiccated coconut
  • Toasted and powdered white sesame seeds

Instructions

  1. Place the chopped chocolate in a medium sized heatproof bowl. Set aside. Heat the cream and butter in a small saucepan over medium heat. Bring just to a boil. Immediately pour the boiling cream over the chocolate and allow to stand for a minute or two. Stir with a rubber spatula until smooth. (If the chocolate doesn't melt completely, place in the microwave for about 20 seconds, or over a saucepan of simmering water, just until melted.) Add the liqueur. Cover and place in the refrigerator until the truffle mixture is firm (this will take several hours or overnight).
  2. Place your coatings for the truffles on a plate. Remove the truffle mixture from the refrigerator. With your hands, a small ice cream scoop, a melon baller, or a small spoon form the chocolate into round or mis-shaped bite-sized balls. Immediately roll the truffle in the coating and place on a parchment lined baking sheet or tray. Cover and place in the refrigerator until firm. Truffles can be refrigerated for a couple of weeks or else frozen for a couple of months. Bring to room temperature before serving.
https://onewholesomemeal.com/kahlua-flavored-chocolate-truffles/

[kkstarratings]

Categories
Breakfast | 8am Meal

Chai Spiced Pound Cake | Refined Sugar-Free

My early Christmas gift for you is this chai spiced pound cake recipe. The best part you ask – no refined sugar!

The struggle to eat desserts by keeping them healthy continues. I am an almost fitness freak as well as a foodie (split personality symptoms?!). While working out I am quick to promise myself to not indulge in too much food the next time. But when I am in the kitchen, trying to whip up something delicious, I forget that promise almost as quickly. I am yet to figure out which part of my split personality outweighs the other.

For now, it is the health-conscious me planning to indulge in a slice of this refined sugar-free Chai Spiced Pound Cake for breakfast tomorrow. I researched a couple of recipes online to create this one. After taking a little bit from all my research, I ended up creating my own flavor with aromatic spices and Twinings Darjeeling Tea. All the spices are not necessary, but they do make the cake very flavourful.

You can eat this pound cake as is or top it with some cream cheese frosting. A perfect dessert for your Christmas table too! Scroll down to read the full recipe for you to try.

Pound Cake

Pound Cake

Chai Spiced Pound Cakes

Ingredients

  • For the cake:
  • Flour- 241gm
  • Light Brown Sugar-213gm
  • Unsalted Butter, softened-22gm
  • Honey-85gm
  • Cardamom powder-2 teaspoons
  • Cinnamon powder-1 tablespoon
  • Clove powder- ¼ teaspoon
  • Black pepper powder- ¼ teaspoon
  • Nutmeg powder- ½ teaspoon
  • Ginger powder-2 teaspoons
  • Saffron-2 strands
  • Eggs(at room temperature) -2 large, whites and yolks separated
  • Baking powder- 1 teaspoon
  • Baking soda- ¼ teaspoon
  • Salt- ¼ teaspoon
  • Full fat yogurt- 200 gm
  • Black tea at room temperature (I used Twinings Darjeeling Tea bags)-4 tablespoons
  • Orange zest-2 tablespoons
  • Vanilla extract-2 teaspoons
  • For the frosting:
  • Cream cheese (at room temperature)- 220gm
  • Unsalted butter (at room temperature, softened)- 75gm
  • Castor sugar (or regular sugar ground fine)- 50 gm or to taste (I kept the sugar really low)
  • Milk- 6-8 tablespoons
  • Orange zest-1 teaspoon
  • Vanilla-1 teaspoon
  • Chopped pistachios- 2 tablespoons

Instructions

  1. For the cake:
  2. Preheat your oven to 350 degrees Fahrenheit and grease an 8 inch Bundt pan (or you can use a regular cake pan if you do not have a bundt at hand) and set aside
  3. Seep two tea bags of the desired tea in a teacup of hot water for 10 minutes. Squeeze the tea bags well before discarding and let the tea come to room temperature; set aside
  4. Add saffron into the yogurt and set aside
  5. In a deep bowl sift together the flour, baking powder, baking soda, salt to achieve uniform distribution of ingredients. Then add the spices to this and mix well
  6. In another bowl whisk the egg white until soft peaks form and set aside (see here a visual guide to soft peaks- https://www.thekitchn.com/a-visual-guide-soft-peaks-firm-115557)
  7. In a separate bowl beat the butter on medium-high for a minute until soft, and then add brown sugar and honey till smooth and a homogenous color is achieved. This takes around 2-3 minutes on medium speed
  8. Add the egg yolks one at a time, beating for a minute or two and scraping the sides between additions followed by orange zest and vanilla
  9. Then in three alternate additions add the dry ingredients from Step 4 and yogurt, starting with the dry ingredients. Mix for 30 seconds on medium high between two additions. Scrape the sides between two additions. When a smooth batter is achieved, add 4 tablespoons of tea and give it one final mix
  10. Fold in the egg whites into the above batter slowly being very careful not to over mix (see here the correct technique of folding in egg whites- https://www.youtube.com/watch?v=xbFbJ9NXID0 )
  11. Pour the batter into the prepared pan and bake at 350 degrees Fahrenheit for 50-60 minutes or until a tooth pick inserted into the center of the cake comes out clean
  12. Remove the cake from the oven, and cool in the pan for 15 minutes then turn it out onto a rack until completely cool before frosting
  13. For the frosting:
  14. In a deep wide bowl blend the cream cheese and butter until smooth
  15. Add sugar and blend for another minute
  16. Add orange zest and vanilla and blend for 30 secs
  17. Finally add milk, a tablespoon at a time till a pouring consistency of frosting is achieved
  18. Pour the frosting over the cake after it has cooled down completely, garnish with chopped pistachios. The cake is ready to be served and enjoyed with a hot cuppa 🙂
https://onewholesomemeal.com/chai-spiced-pound-cake/

[kkstarratings]