Categories
Breakfast | 8am Meal

Mawa Gujiya | Fried Sweet Dumplings

Mawa Gujiya is a popular Indian sweet (fried sweet dumpling) made during festivals. As a result, I have so many memories associated with it.

The air has a comfortable nip and the sun has started to feel it too, arriving late in the mornings and hurriedly saying his byes by 5 pm; Ma has started to bring out the woolens to air them and phool gobhi and paalak have started to make an appearance in the menu. The haats and phool bazaars are getting more colourful and lush and the maali has started to pot marigolds, pansies, and phlox. My favourite time of the year is here. Diwali is just a week away and there is a buzz in the entire household.

Ma (who is a teacher) would come back from school and after a quick lunch would send us kids off to finish our homework and then sit down to make gujiya with the house help. As they would knead, roll, mould, stuff, and seal I would find excuses to take a peek – sometimes on the pretext of drinking water and on others making up questions about the homework. Ma sensing the curiosity would occasionally relent and let me be a part of it all. I would eagerly help lay the gujiyas out or break mini dough balls and hand them over to her to roll, waiting impatiently for the first batch to be ready for frying. Oh! The divinity of those hot gujiyas melting in your mouth still lingers fresh.

Recreating a Part of My Childhood

Its only natural that now, each Diwali I try and relive a part of my childhood by making a batch for my children. Although I must admit that it has taken me more than a few attempts to finally say that I can make decent gujiyas. For it takes some patience and diligence to get there but its all so worth it. So, here is the result of my multiple failed attempts – a recipe with tips and tricks from Ma and me to make the perfect Mawa Gujiya. Trust me, if you follow each step as suggested, it is going to be a cakewalk; a bit of a workout for your arms and hands for sure but apart from that a cakewalk indeed!

Let’s Start With the Filling

The easiest part of making gujiyas is making the filling itself. I have tried various kinds of fillings – semolina with coconut, just semolina, mawa with semolina, and pure mawa. In my humble opinion, the pure mawa tastes the yummiest. If you can make your own mawa, then nothing like it. That is the best tasting kind! You might have to cook it in ghee slightly to achieve a consistency which is easy to fill into the moulds. But if you are like me, with your hands full and just about squeezing time out to make gujiyas, then store-bought mawa is the next best option.

That is what I have used here. While you do not need to cook it, I do recommend placing it over a hot (not boiling) water bath when you mix in the powdered sugar and semolina in. It just helps melt the sugar and mix all the ingredients very well without making the mawa hard and brittle. Once mixed well, add chopped nuts and raisins and keep aside.

Mawa Gujiya by OneWholesomeMeal 01

Dough for the Gujiyas

Next is the dough. The key to delicious gujiyas is the papery thin crispy exterior with soft and sugary filling. And the trick to achieving the thin crispy exterior is rubbing the dough with ghee between your palms till it starts to come together, before starting to add water and kneading it. The ghee needs to be melted and brought to room temperature. Add it little by little to the dough. Too little ghee would yield a chewy shell, while too much ghee would make it hard to roll the dough out. Approximately 3-4 teaspoons of ghee for 250 gm flour is generally good enough.

Mawa Gujiya by OneWholesomeMeal 02

Using lukewarm water to knead the dough makes it more pliable. But be very careful while adding water, do it in small additions as it is hard to salvage the dough if too much water is added. The end result should be dough with consistency softer than poori but stiffer than roti. Once done cover it with moist muslin to avoid drying and keep it covered even while you pull out small dough balls to roll.

Making the Dumplings

Grease your rolling surface with some ghee and roll out really thin round discs making sure they are a few centimetres larger than your mould so it hangs a bit. Also, grease the mould with ghee so the discs do not stick to it and are easy to bring out. After placing the discs on to the mould, smear the edges with some water to help seal, place some filling inside and seal. Lay it on a tray lined with parchment and set aside for 20 minutes before frying. This helps to fry well and makes for crispy shells.


Ready to Fry

Make sure the oil is really hot by dropping a tiny dough ball into it; if it sizzles and comes up right away, oil is hot enough to fry the gujiyas. Then reduce the heat to medium-high and fry them one at a time making sure to turn them over quickly. The shells are really thin so we do not want them burning. Place the fried gujiyas on a kitchen towel to absorb excess ghee, cool, and store in an air-tight container and consume within ten days. Do not refrigerate!

Mawa Gujiya OneWholesomeMeal 08

Mawa Gujiya ( Dry fruits and Reduced Milk Handpies)

Prep Time: 1 hour, 30 minutes

Cook Time: 20 minutes

Total Time: 2 hours

Yield: 100

Serving Size: 24 Gujiyas

Calories per serving: 180 per piece

Ingredients

  • For Outer Shell:
  • All Purpose Flour- 250 gm (approximately 2 cups)
  • Ghee, melted and brought to room temperature - 3-4 tsp
  • Lukewarm water- 1/2 cup or as required
  • For Filling:
  • Mawa (Khoya), crumbled- 230 gm
  • Roasted semolina-2 tbsp
  • Powdered Sugar-2.5 tbsp or as per taste
  • Grounded fennel seeds-1/2 tsp
  • Cardamom powder- 1 tsp
  • Finely chopped almonds-1 tbsp
  • Finely chopped cashews-1 tbsp (It is important to chop the dried fruits fine so they are easy to fill into the shell without poking into and damaging it)
  • Chopped raisins- 1 tbsp

Instructions

  1. For Outer Shell: In a deep wide bowl, place the all purpose flour and add melted ghee. Rub flour and ghee between your palms for 5-7 minutes till the flour starts to come together as shown in the image above
  2. Then adding lukewarm water little by little, knead the dough till it is soft and pliable, cover with moist muslin and keep aside
  3. For Filling: Bring water to boil in a pot and then turn off the heat
  4. Place another bowl on the above water bath and to it add mawa, semolina and powdered sugar and using your fingers mix well till all ingredients come together. Bring out of the water bath and add the remaining ingredients- spices and chopped dry fruits and keep aside
  5. Assembling:Grease your rolling surface with some ghee and roll out thin discs (this requires some elbow grease)
  6. Place the disc on greased mould, wet the edges with water, fill, seal and keep aside on parchment
  7. Continue the same method for rest of the dough and filling and let rest for 20 minutes before frying
  8. Cool and store in an air tight container and consume within 10 days. In cooler weather it may last longer
https://onewholesomemeal.com/mawa-gujiya-fried-sweet-dumplings/


[kkstarratings]

Categories
Dinner | 8pm Meal Lunch | 1pm Meal

Dhaniya Chicken | A One-Pot Meal

While chicken is a favorite in our household, I am always looking for ways to add some green. This one-pot dhaniya chicken is a household hit as it ticks chicken for the family and greens for me!

If you have read my other posts, you know how much chicken is loved in my home. The days we have chicken on the menu, I know all stakeholders are happy and meals are wiped off of the plates without much fuss. Hence I am always looking for ways to create a variety with chicken.

At the moment, I am also finding ways to make one-pot meals. This means I do not need to make more than one dish for dinners on a weeknight. This dhaniya chicken is just that. Pairing chicken with greens such as dhaniya (coriander), paalak (spinach), methi (fenugreek leaves) is a common way of making complete, wholesome meals with this meat.

My recipe here is in no way the authentic method of making this dish. But this is the version we have been making for years in our family now. And it is a super hit! The preparation is simple and can be put together in an hour (yes, you heard me right!). For accompaniments, you can have it with rice, rotis, or hot flaky parathas too.  And is an absolute party pleaser!


Dhaniya Chicken

Prep Time: 30 minutes

Cook Time: 30 minutes

Total Time: 60 minutes

Yield: 100

Serving Size: 4

Calories per serving: 233

Ingredients

  • For Chutney:
  • Fresh coriander- 3 heaped cups (chop the stems fine and use them too)
  • Garlic -3 medium sized pods
  • Green chilli-1 (optional)
  • Lime juice-1.5 tablespoons
  • Salt-1 teaspoon or as per taste
  • Water-1 -2 tablespoons for blending
  • For Marinade:
  • Chicken, cleaned and cut to desired size- 700 gms
  • Yogurt-1.5 tablespoons
  • Ginger-garlic paste- 1 tablespoon
  • Red Chilli powder-1 teaspoon (optional)
  • Turmeric powder- 1 teaspoon
  • Salt-1 teaspoon
  • Mustard oil-1.5 teaspoons (Please note that thighs and drumsticks are high in fat already hence you can either skip or add minimal oil here; if using breast, however, you would need to add extra oil to marinate the meat for it to have a relatively softer texture)
  • For Curry:
  • Chutney prepared in the earlier step
  • Onion chopped fine-2.5 cups (6-8 medium sized red onions)
  • Potatoes, cubed- 2 (optional)
  • Green Chili- 2 (optional)
  • Ginger-garlic paste- 1 tablespoon
  • Bay leaf- 2 small
  • Cumin- 1 teaspoon
  • Shaah Jeera- 1/2 teaspoon (optional)
  • Cinnamon -2 two inch sticks
  • Black pepper- 1/2 teaspoon
  • Mace- 1
  • Star Anise-2
  • Black Cardamom- 2
  • Garam Masala- 1/2 teaspoon
  • Chicken Masala- 1 teaspoon + 1/2 teaspoon (If you do not have this on hand you can replace it with 1/2 teaspoon Garam Masala)
  • Turmeric powder-1/2 teaspoon
  • Ghee- 1/2 teaspoon +1/2 teaspoon
  • Water-2 tablespoons or more based on desired consistency of the curry
  • Oil-1 tablespoon
  • Salt- To taste
  • Chopped green coriander for garnish- 2 tablespoons

Instructions

  1. For Chutney: Blend all ingredients in a high speed blender adding water a teaspoon at a time to get a semi-solid paste. Please note that we do not want the chutney to be too runny, else it would not impart the right coriander flavour to the chicken. Keep aside
  2. For Marinade: Mix the ingredients for the marinade well with the chicken make sure all chicken pieces are well covered with the marinade. Cover and refrigerate for a minimum of 30 Mts to 2 hours
  3. For Curry: In a thick bottomed deep wok, heat oil and add whole spices (bay leaf, cumin, black pepper, mace, star anise and black cardamom). Immediately turn down the heat to low to avoid burning the spices and continue to stir for 15-20 secs till the they release a sweet aroma and start to crackle. Then add chopped onions and increase the heat to medium high. Keep stirring till the onions start to brown then add ginger-garlic paste and continue to stir. After 30 secs add turmeric powder, garam masala and 1 teaspoon chicken masala. Mix well. Keeping the flame on medium-high continue stirring till the spices are cooked. At this point add 1/2 teaspoon ghee if the mixture starts to dry and keep stirring till the onions are nice and brown. Then add the marinated chicken, potatoes and green chili and mix all ingredients well. The add the remaining 1/2 teaspoon chicken masala.The flame is still on medium-high. After 2-3 minutes you would see the onions would start to caramelise and release water
  4. Now, for the best flavour you can continue to roast the chicken with the onion-spice mix for around 10 minutes with continuous stirring , followed by adding salt, water and slow cooking on a slow flame until done
  5. Else cook the chicken uncovered for 5 minutes, then reduce flame , add the coriander chutney, water, salt and cover and cook until done
  6. Continue to cook covered with intermittent stirring till the meat is tender, taste for salt, add half a teaspoon ghee, mix well, cover and turn off the heat. Let it soak flavours for another 15 minutes, garnish with coriander, then serve hot with rice or phulkas.
https://onewholesomemeal.com/dhaniya-chicken/


[kkstarratings]

Categories
Dinner | 8pm Meal Lunch | 1pm Meal

White Matar Sabzi | White Peas Curry

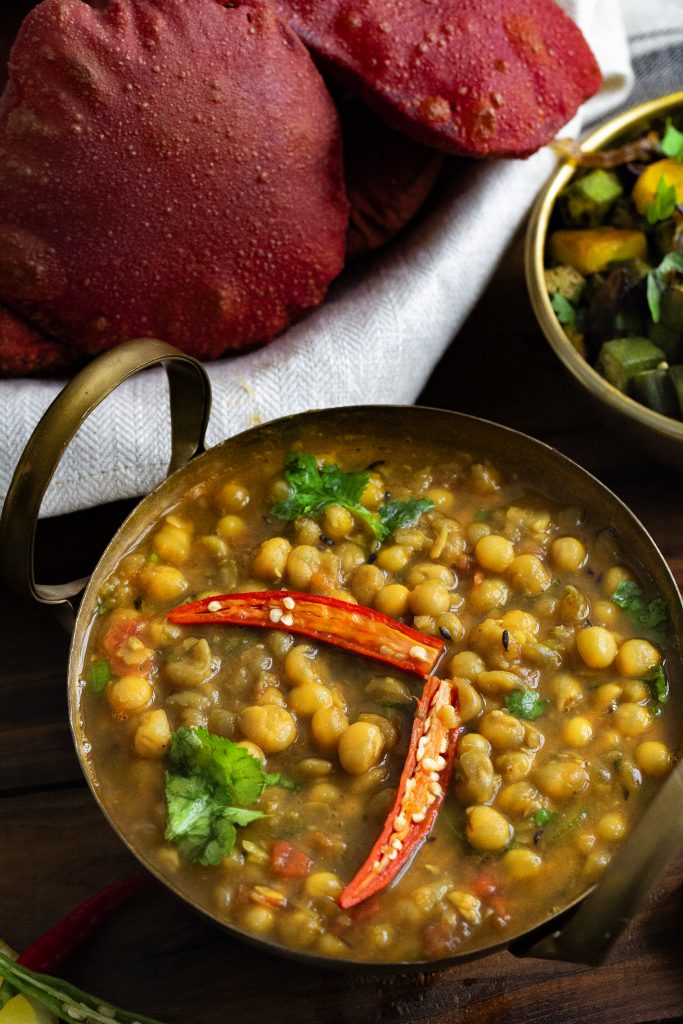
I tried white matar sabzi for the first time, only after my marriage. Up until then, I had always eaten it as a part of chaat or ragda-patties. But this sabzi is a regular feature in the menu at my in-laws’ and it tastes absolutely delicious with hot rice.

White matar or white peas, is a cousin of chickpeas, only much faster to cook and much easier to digest. Some like it just done, and some a tad bit mushy, but it tastes equally great both ways. I do not need to educate you about the benefits of eating lentils. We all know they are the best source of vegan protein and like most lentils, the white matar is best eaten freshly cooked. If stored for long after cooking, it loses its taste and gets harder to digest. It is also famous as ghugni, a kind of street food in the East Indian states of Odisha and West Bengal.

Coming back to the recipe, please note that the boiling time would differ based on the quality of matar and kind of pressure cooker. But it takes approximately 7 minutes from the time pressure sets in. Scroll down for the full recipe of the white matar sabzi.

White Matar Sabzi

Prep Time: 7 hours

Cook Time: 20 minutes

Total Time: 7 hours, 20 minutes

Yield: 100

Serving Size: 3

Calories per serving: 200 per cup

Ingredients

  • White Matar, washed and soaked overnight or a minimum of 6 hours - One cup
  • Onions ground to a paste- 3/4 cup
  • Tomato ground to a paste- A little over 1 cup
  • Ginger garlic paste- 1 tablespoon
  • Bay leaf- 1 big
  • Dried red chilies- 2 small or as per taste
  • Cumin seeds-1 teaspoon
  • Asafoetida- Pinch (optional)
  • Black cardamom -1 (optional)
  • Garam Masala- 1 teaspoon or 1.5 teaspoons if you like it spicier
  • Coriander powder -1/2 teaspoon
  • Cumin powder-1/4 teaspoon
  • Turmeric powder-1/2 teaspoon
  • Red chilli powder-1/2 teaspoon (optional)
  • Oil or ghee- 1.5 tablespoons plus a little extra while roasting spices
  • Water-1.5 cups
  • Chopped coriander-1.5 tablespoons for garnish
  • Turmeric powder-1/2 teaspoon
  • Red chili powder-1/2 teaspoon (optional)
  • Oil or ghee- 1.5 tablespoons plus a little extra while roasting spices
  • Water-1.5 cups
  • Chopped coriander-1.5 tablespoons for garnish

Instructions

  1. Boil the white matar with 1.5 cups of water, 1/2 teaspoon turmeric and salt until soft and keep aside.
  2. Heat oil in a deep thick bottomed wok and add the whole spices (bay leaf, cumin, black cardamom, dried red chilli) and asafoetida. Immediately reduce the flame to medium-low and continue stirring for about 15-20 seconds. By this time the spices would start to crackle and release aroma.Add onion paste and increase the heat to medium high, stirring continuously . Add ginger garlic paste after a minute and continue to stir till the paste turns brown and starts to come together, then add all the powdered spices. Continue to cook on a medium high flame with continuous stirring till the mixture starts to release oil and you get a distinct aroma of cooked spices. If at any point the mixture starts to get dry, add 1 teaspoon of oil or ghee (preferably latter) and continue to stir. You could also add 2 tablespoons of water , however it effects the final taste mildly. This process of cooking spices with onions would take 5-7 minutes.
  3. Add tomato paste and continue to cook for another 2-3 minutes till a homogenous mixture is formed.
  4. Add boiled matar into the masala mixture and mix well. Add warm water if the mixture is too thick and taste for salt. Bring to boil, then reduce flame to low, cover and let it simmer for 3 minutes. At this point you could add a teaspoon ghee for a beautiful flavour and aroma.Turn off the heat and let it sit for another 15 minutes or more for flavours to soak, garnish with chopped coriander and serve with rice or roti.

Notes

Please note that the boiling time would differ based on the quality of matar and kind of pressure cooker. But it takes approximately 7 minutes from the time pressure sets in. How I boil in a pressure cooker- Place the cooker with the contents on a high flame till the pressure sets in (indicated by a hissing sound once the steam starts to form); then reduce the flame to low and let cook for 5-7 minutes.

https://onewholesomemeal.com/white-matar-sabzi/


[kkstarratings]

Categories
Lunch | 1pm Meal

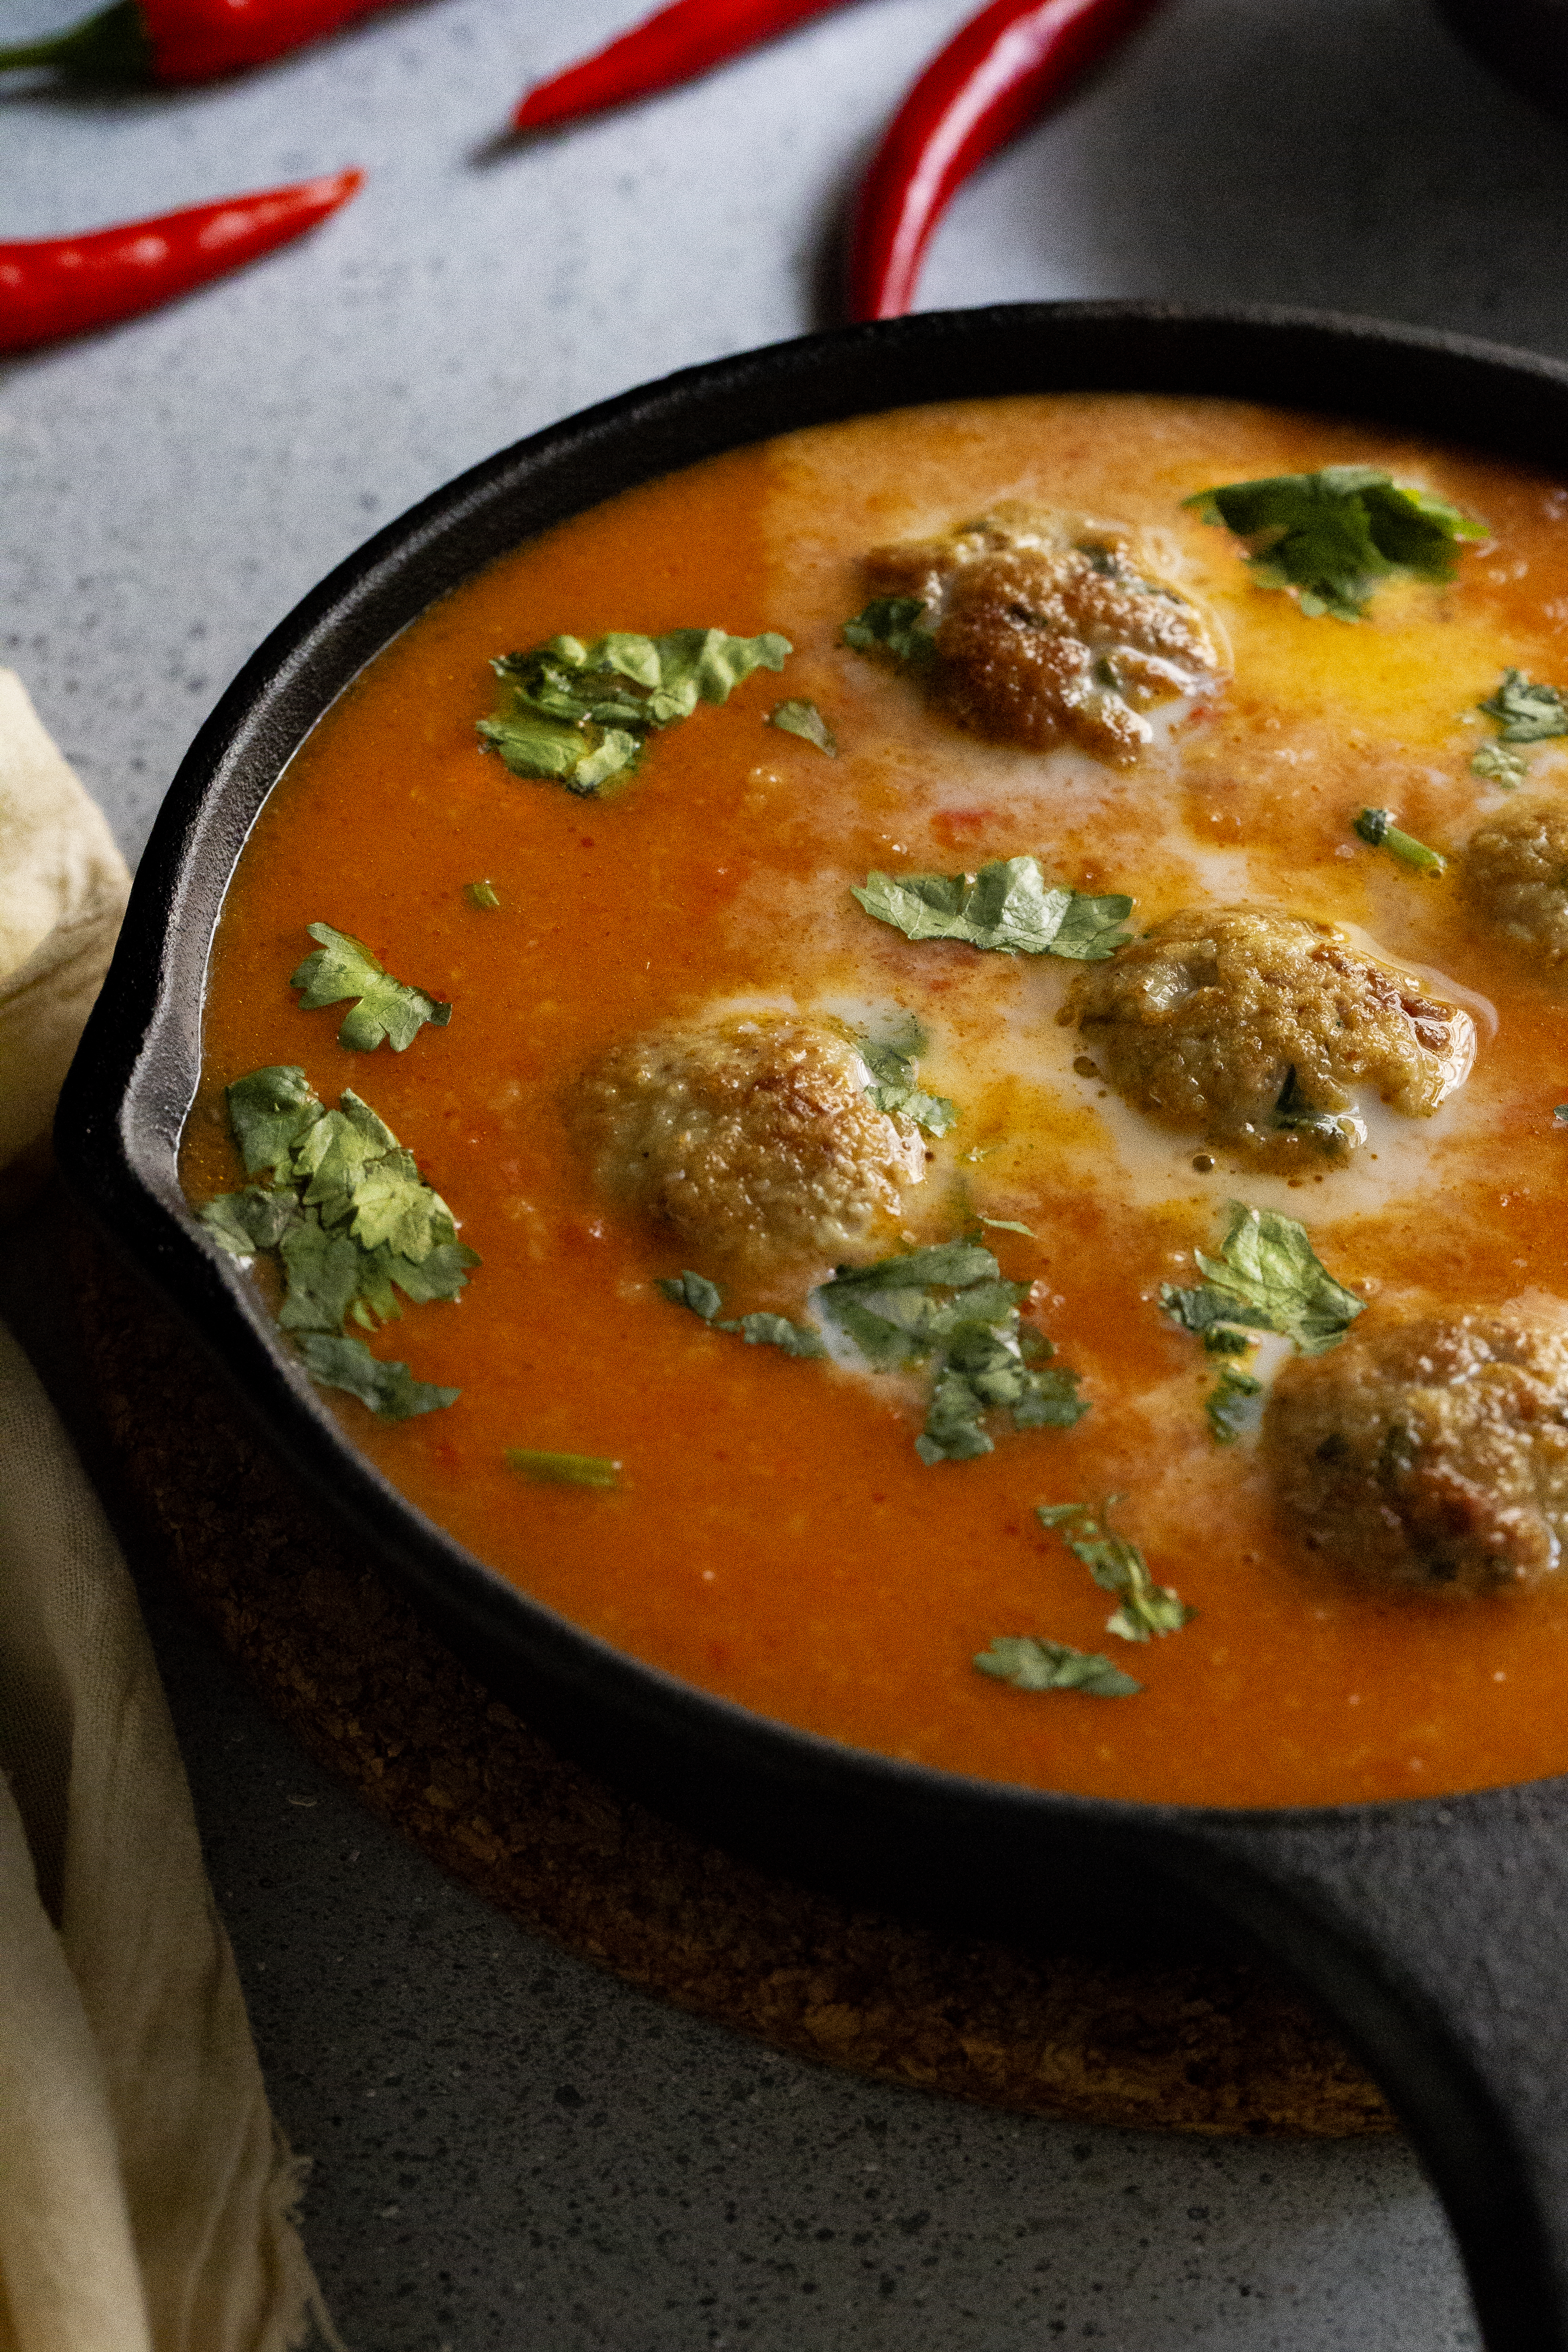
Chicken Meatballs in Fiery Cheesy Curry

These chicken meatballs will add a variation to your chicken cooking and the fiery gravy a zing to it!

If there is one meat that is universally loved at home, it is chicken. Its consumption is restricted to one or two meals a week. So I try and create some variety in its preparation. Although, I must confess that this Chicken Meatballs in Fiery Cheesy Curry recipe too fiery for the kids. To compensate the spice, they happily enjoyed the meatballs with tons of cheese inside a burger bun. On the other hand, us adults dug into this hot deliciousness with some steamed rice. We loved the spice.

Now, the spice is because of the Bird Eye Chilies that I used. It is a chili commonly used in Asian dishes. To give you an idea of the spice, I read that on the Scoville scale, these chilies fall between 50,000 and 100,000 Scoville units. For perspective, that is 10 times hotter than a jalapeño. Therefore, do consider yourselves warned – this curry is not for the faint-hearted and the braver ones too, please keep some (no, loads) of water close… 😉

If you want to still make this dish but with less spice, I recommend using 2-3 bird eye chilies. Let me know how your chicken meatballs in fiery cheesy curry turned out. Scroll down for the full recipe.


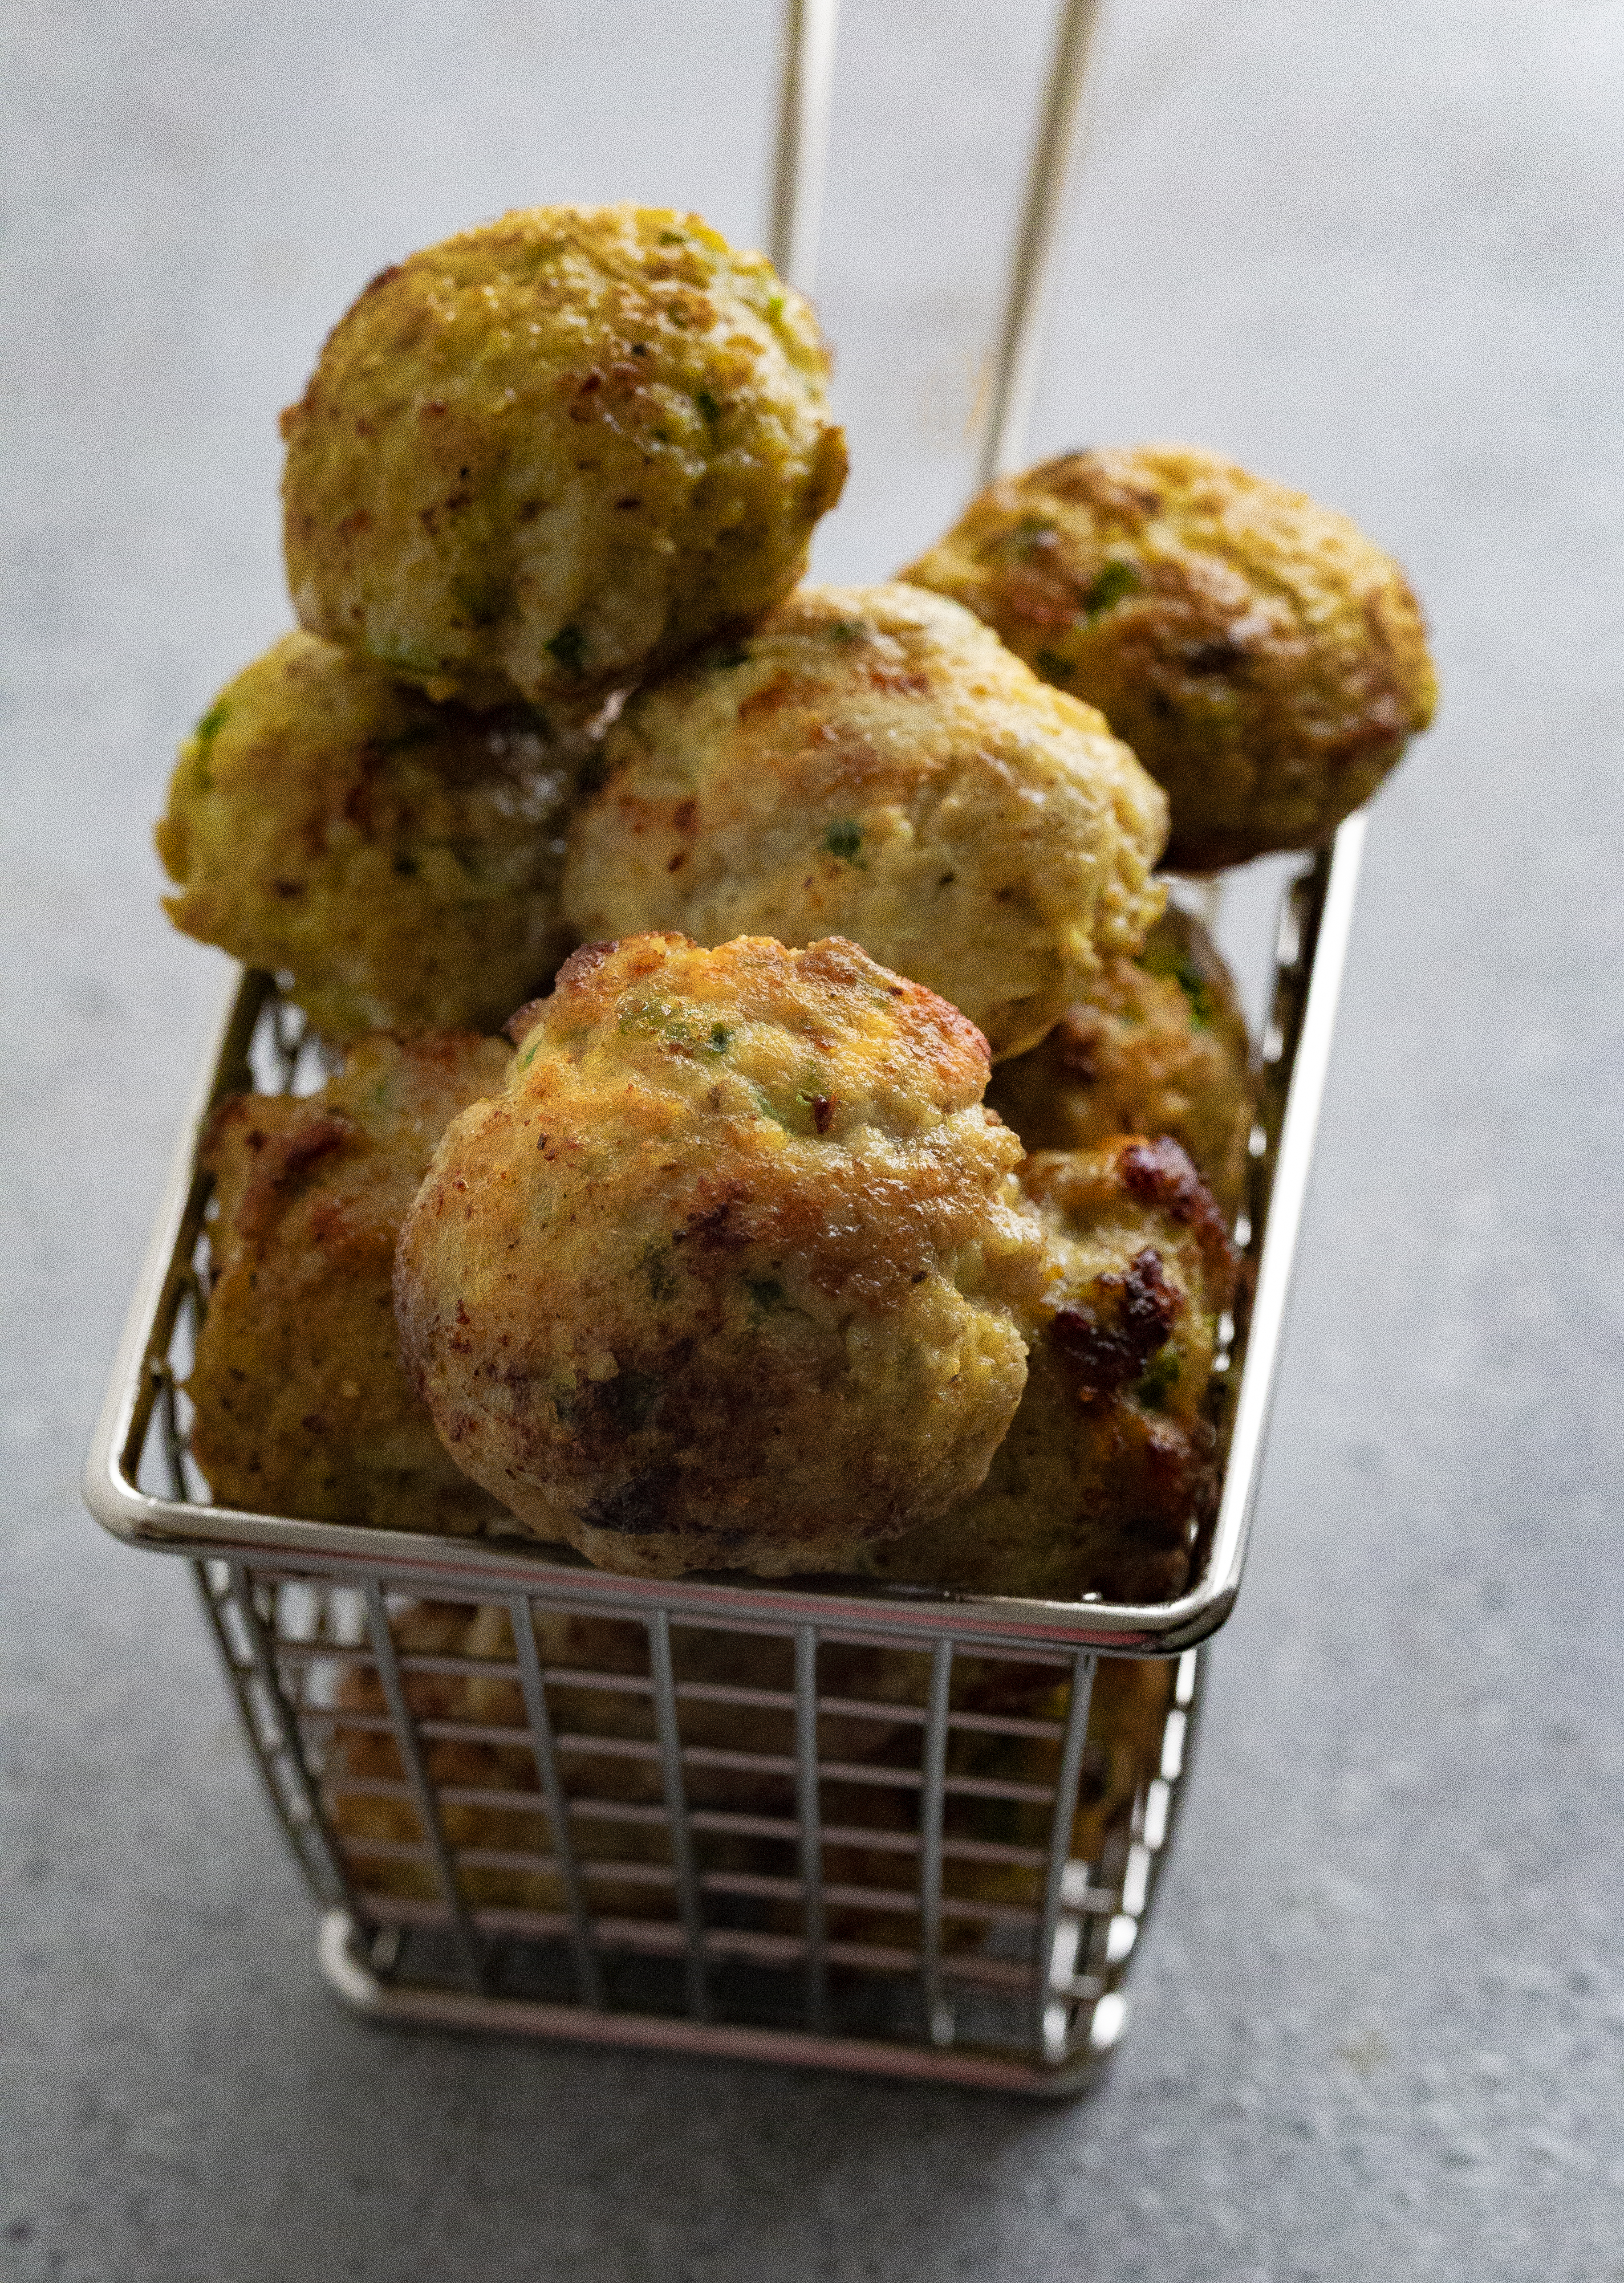
Chicken Meatballs 


Chicken Meatballs Prep


Chicken Meatballs


Chicken Meatballs in Fiery Cheesy Curry

Prep Time: 20 minutes

Cook Time: 20 minutes

Total Time: 40 minutes

Yield: 100%

Serving Size: Serves 4

Calories per serving: 175

Ingredients

  • FOR THE MEATBALLS:
  • Minced Chicken- 300gm
  • Egg- 1 medium, whisked
  • Spring onions chopped fine- 2 tablespoons
  • Bread crumbs powdered fine- 2 tablespoons plus a little extra if the mixture is too runny
  • Coriander powder-1 teaspoon
  • Garam Masala-1.5 teaspoon
  • Salt- 1.5 teaspoon or to taste
  • -------------------------------------------------------------------------------------------------------------------
  • FOR THE CURRY:
  • Red bell pepper, medium sized- Halved
  • Tomatoes, medium sized-2
  • Bird Eye Chilies- 6 (or 3 if less heat is desired)
  • Garlic- 5 pods
  • Coriander seeds whole- 1 teaspoon
  • 4 Cheese Mexican (a mix of Monterey Jack, Cheddar, Queso Quesadilla &Asadero Natural Cheeses)-3 tablespoons ; If you are unable to lay your hands on 4 cheese mix, you could use a mixture of cheddar and Monterey Jack
  • Chicken/Vegetable Stock or water- 2 cups and a little extra to attain a desired consistency of curry
  • Chopped basil/ coriander leaves for garnish- 2 tablespoons
  • Salt- 1/2 teaspoon or to taste
  • Sugar-1 teaspoon
  • Cream-1 tablespoon for garnish (optional)
  • Oil- 1 teaspoon

Instructions

  1. FOR THE MEATBALLS:
  2. Mix all ingredients well with a fork and form into small balls . Shallow fry in an Abbleskiver (Appe) or a regular pan and keep aside on a kitchen towel to drain off excess oil.
  3. FOR THE CURRY:
  4. Blend all ingredients(except cheese, stock, coriander/basil, salt and cream) in a high speed blender and keep aside
  5. Heat oil in a small, deep wok and add the above paste
  6. Cook it on medium heat with constant stirring for 2-3 minutes, then add1.5 cups of stock(or water) and mix well; bring it to boil, then reduce flame to low and simmer covered for 5 minutes
  7. Remove the lid and add 1/2 cup of retained stock(or water) and cheese and mix well
  8. Add meatballs, mix and cover and let it simmer on low heat for 10 minutes with intermittent stirring
  9. Taste for salt as both stock and cheese would already be salty, add sugar and cook for another 2-3 minutes on low heat
  10. Turn off the heat and cover and let the meatballs absorb the curry well. Garnish with cream if desired and chopped coriander or basil

Notes

Using stock (chicken or veg) makes a considerable difference to taste, but if you have neither at hand, you could use water and add a little butter while the sauce is cooking This dish tastes better after a couple of hours or even the next day when the flavours have absorbed and enhanced well Tastes best with a side of steamed sticky rice

https://onewholesomemeal.com/chicken-meatballs-in-fiery-cheesy-curry/

[kkstarratings]

Categories
Dinner | 8pm Meal Lunch | 1pm Meal

Chicken Bharta Wrap | Curry In A Wrap

We have been away from home on a vacation. And most times, I need a vacation after one. So I put together a simple curry in a wrap – chicken bharta wrap.

Traveling is great but coming back to the comfort of your home and routine? Nothing compares. Or maybe I am an old soul trapped in a 35-year-old’s body 🤪 . Anyway, this is the longest I have been away from home and home food. And surprisingly enough I kind of de-stressed putting this simple meal of chicken bharta wrap together.

As I jokingly mentioned to my mother on the phone, while the kids kept themselves busy in their room, that this felt like a vacation after the past two weeks of being on the road! I am sure the chores will soon start weighing me down and the need to run away from it all would become pressing again but until then I am going to savor this comforting feeling of familiarity and routine. Coming back to the wrap, I adapted the recipe for Chicken Bharta from Sukanya’s blog and modified it a bit to suit the wrap style.

I used corn tortillas for the wrap. For the filling, along with the chicken bartha, I added chopped lettuce, shredded pepper jack cheese, chili flakes and coriander for garnish. And that’s it! It was a very satisfying quick meal.

Chicken Bharta Wrap

Prep Time: 20 minutes

Cook Time: 15 minutes

Total Time: 35 minutes

Yield: 100%

Serving Size: 4

Calories per serving: 215

Ingredients

  • Boneless chicken breast - 500 gm
  • Ginger garlic paste - 2 tsp
  • Onions (big, sliced) - 2
  • Turmeric powder-½ tsp
  • Cumin powder - 1 tsp
  • Coriander powder - 1 tsp
  • Deghi mirch (red chilli) powder - 1 tsp
  • Garam masala - ¼ tsp
  • Egg yolk - 2 mashed
  • Cashew paste - 2 -3 tbsp
  • Yogurt - 3-4 tbsp
  • Tomato puree - 1-2 tbsp
  • Salt- To taste
  • Oil - 3 tbsp
  • Butter- one knob
  • Cilantro chopped - 3 tbsp
  • Kasuri methi - 2-3 tsp
  • Boiled egg whites to garnish
  • Lettuce-1 cup chopped coarsely or larger if desired
  • Mexican Pepper Jack Cheese, freshly grated-1.5 cups
  • Chilli flakes-1 tsp or as per taste
  • Store bought corn tortillas-4-6

Instructions

  1. Wash and clean the chicken breast thoroughly. Heat enough salted water in a pan and add the chicken breast to it. Poach it or cook till done. Check for the rawness and continue cooking till the chicken is poached thoroughly
  2. While the chicken is still hot, pull out into long thin shreds using two forks
  3. In a separate pan, heat the oil and fry the sliced onions till golden in color. Add the ginger garlic paste and sauté
  4. Add the spices like turmeric powder, cumin, coriander, red chilli powder and fry thr spices till the rawness disappears
  5. Now add the shredded chicken and mix it well on medium heat till the chicken is well coated with the spices
  6. In a separate bowl mix yogurt, cashew paste and garam masala.
  7. Lower the heat and add the above mixture to the chicken. Cook on low heat till the oil starts leaving the sides of the pan
  8. Add the tomato puree and continue cooking on low heat
  9. Check for the seasonings, by this time shredded chicken pieces should be well incorporated with the spice mixture
  10. Cover the pan and cook for five more minutes
  11. When it is done, add the mashed egg yolk, butter, finely chopped cilantro and kasuri methi. The bharta should be of a relatively drier consistency
  12. Garnish with sliced hard boiled egg whites
  13. Place 1-2 spoonfuls of the bharta in the centre of the flat corn tortilla, top it with lettuce, grated cheese, chopped coriander and chilli flakes, wrap it and enjoy
https://onewholesomemeal.com/chicken-bharta-wrap/

Chicken Bharta Wrap


[kkstarratings]

Categories
Dinner | 8pm Meal Lunch | 1pm Meal

Sehjan Saag Moong Daal | Moringa Leaves Moong Daal

Daal is a part of our everyday meal in India. It allows you to experiment with different types of lentils and consistencies. With the Sehjan Saag Moong Daal, I got to play around a little more with the ingredients.

My love story with Moringa (or seaman) began much late in life but once it did there was no looking back. And why would I when these little greens are not only supremely delicious but packed with incredible health benefits especially for women. Moringa leaves are an excellent source of many vitamins and minerals. One cup of fresh, chopped leaves (21 grams) contains :

  • Protein: 2 grams
  • Vitamin B6: 19% of the Recommended Dietary Allowance (RDA)
  • Vitamin C: 12% of the RDA
  • Iron: 11% of the RDA
  • Riboflavin (B2): 11% of the RDA
  • Vitamin A (from beta-carotene): 9% of the RDA
  • Magnesium: 8% of the RDA

(source: healthline.com)

The leaves may taste slightly bitter when eaten on their own. So here is a tried and tested recipe from my Mother in Law’s kitchen. In the Sehjan Saag Moong Daal I used split yellow moong beans and coconut (yes, more healthiness your way). Extremely easy to put together and extremely delicious. To avoid the bitterness, while cleaning the moringa leaves, very carefully pull out the leaves making sure not even the tiniest of stems get mixed with the leaves. Discard the bigger leaves and keep the smaller tender ones.

Scroll down to read the full recipe.

Moringa Leaves photography by OneWholesomeMeal | Sehjan Saag Moong Daal


Moringa Leaves, Split Yellow Moong Daal and other ingredients photography | Sehjan Saag Moong Daal


Moringa Leaves with Split Yellow Moong Daal (Sehjan Saag Moong Daal)

Prep Time: 30 minutes

Cook Time: 15 minutes

Total Time: 45 minutes

Serving Size: Serves 4

Calories per serving: 75

Ingredients

  • Cooked sehjan(moringa) leaves -A little less than 1 cup (the leaves do not reduce too much after cooking, so one cup uncooked leaves would yield little less than a cup cooked leaves)
  • Boiled Split Yellow Moong daal-1.5 cups
  • Freshly desiccated coconut - 1.5 cups
  • Panch Phoran-1 teaspoon
  • Dried red chilli- 2-3
  • Turmeric-1/2 teaspoon
  • Sugar- 1 tablespoon
  • Salt-to taste
  • Oil -2 tablespoons
  • Ghee-1 tablespoon
  • Grated ginger-1.5 teaspoons
  • Green chilies-1 -2 (optional)

Instructions

  1. Cleaning Sehjan:
  2. Very carefully pull out the leaves making sure not even the tiniest of stems get mixed with the leaves Discard the bigger leaves and keep the smaller tender ones
  3. Wash, drain and keep aside
  4. Method
  5. Boil moong daal with salt and turmeric as usual(adding approximately 2 cups water to 1 cup uncooked daal) and keep aside
  6. Heat a pan and add oil
  7. When oil is hot, add dried red chillies and panch phoran, when the seeds start to crackle add the sehjan leaves
  8. Add half a cup of salt water and cover on a medium flame for half a minute, then uncover and add sugar, mix well
  9. If the pan starts to dry add some more water, mix well
  10. By now the leaves should be tender and done
  11. It shouldn’t take more than 5 minutes. Remember to not overcook the leaves
  12. Now, add the precooked moong daal and mix well, then add desiccated coconut
  13. Let it soak all the flavours for 2-3 minutes on medium heat
  14. Finish it off with some desiccated ginger, green chilies and ghee
  15. Serve hot with a side of boiled rice
https://onewholesomemeal.com/moringa-leaves-with-split-yellow-moong-daal-sehjan-saag-moong-daal/


[kkstarratings]